[ CLIENT GUIDE ]
HOW TO SEND US YOUR PRODUCT IMAGES
Follow this guide to get the best possible AI-generated output. Better inputs mean better results — across fashion, jewellery and footwear.
BRIEF US ON YOUR DROP
[ 01 ]
MANNEQUIN CONTRAST
The mannequin’s colour should contrast with the garment and the background, so our AI can cleanly separate the product from the mannequin.

[ DO ]
Dark garment on a light mannequin — clean, separable edges.
[ AVOID ]
Light garment on a white mannequin — no contrast, edges get lost.
[ 02 ]
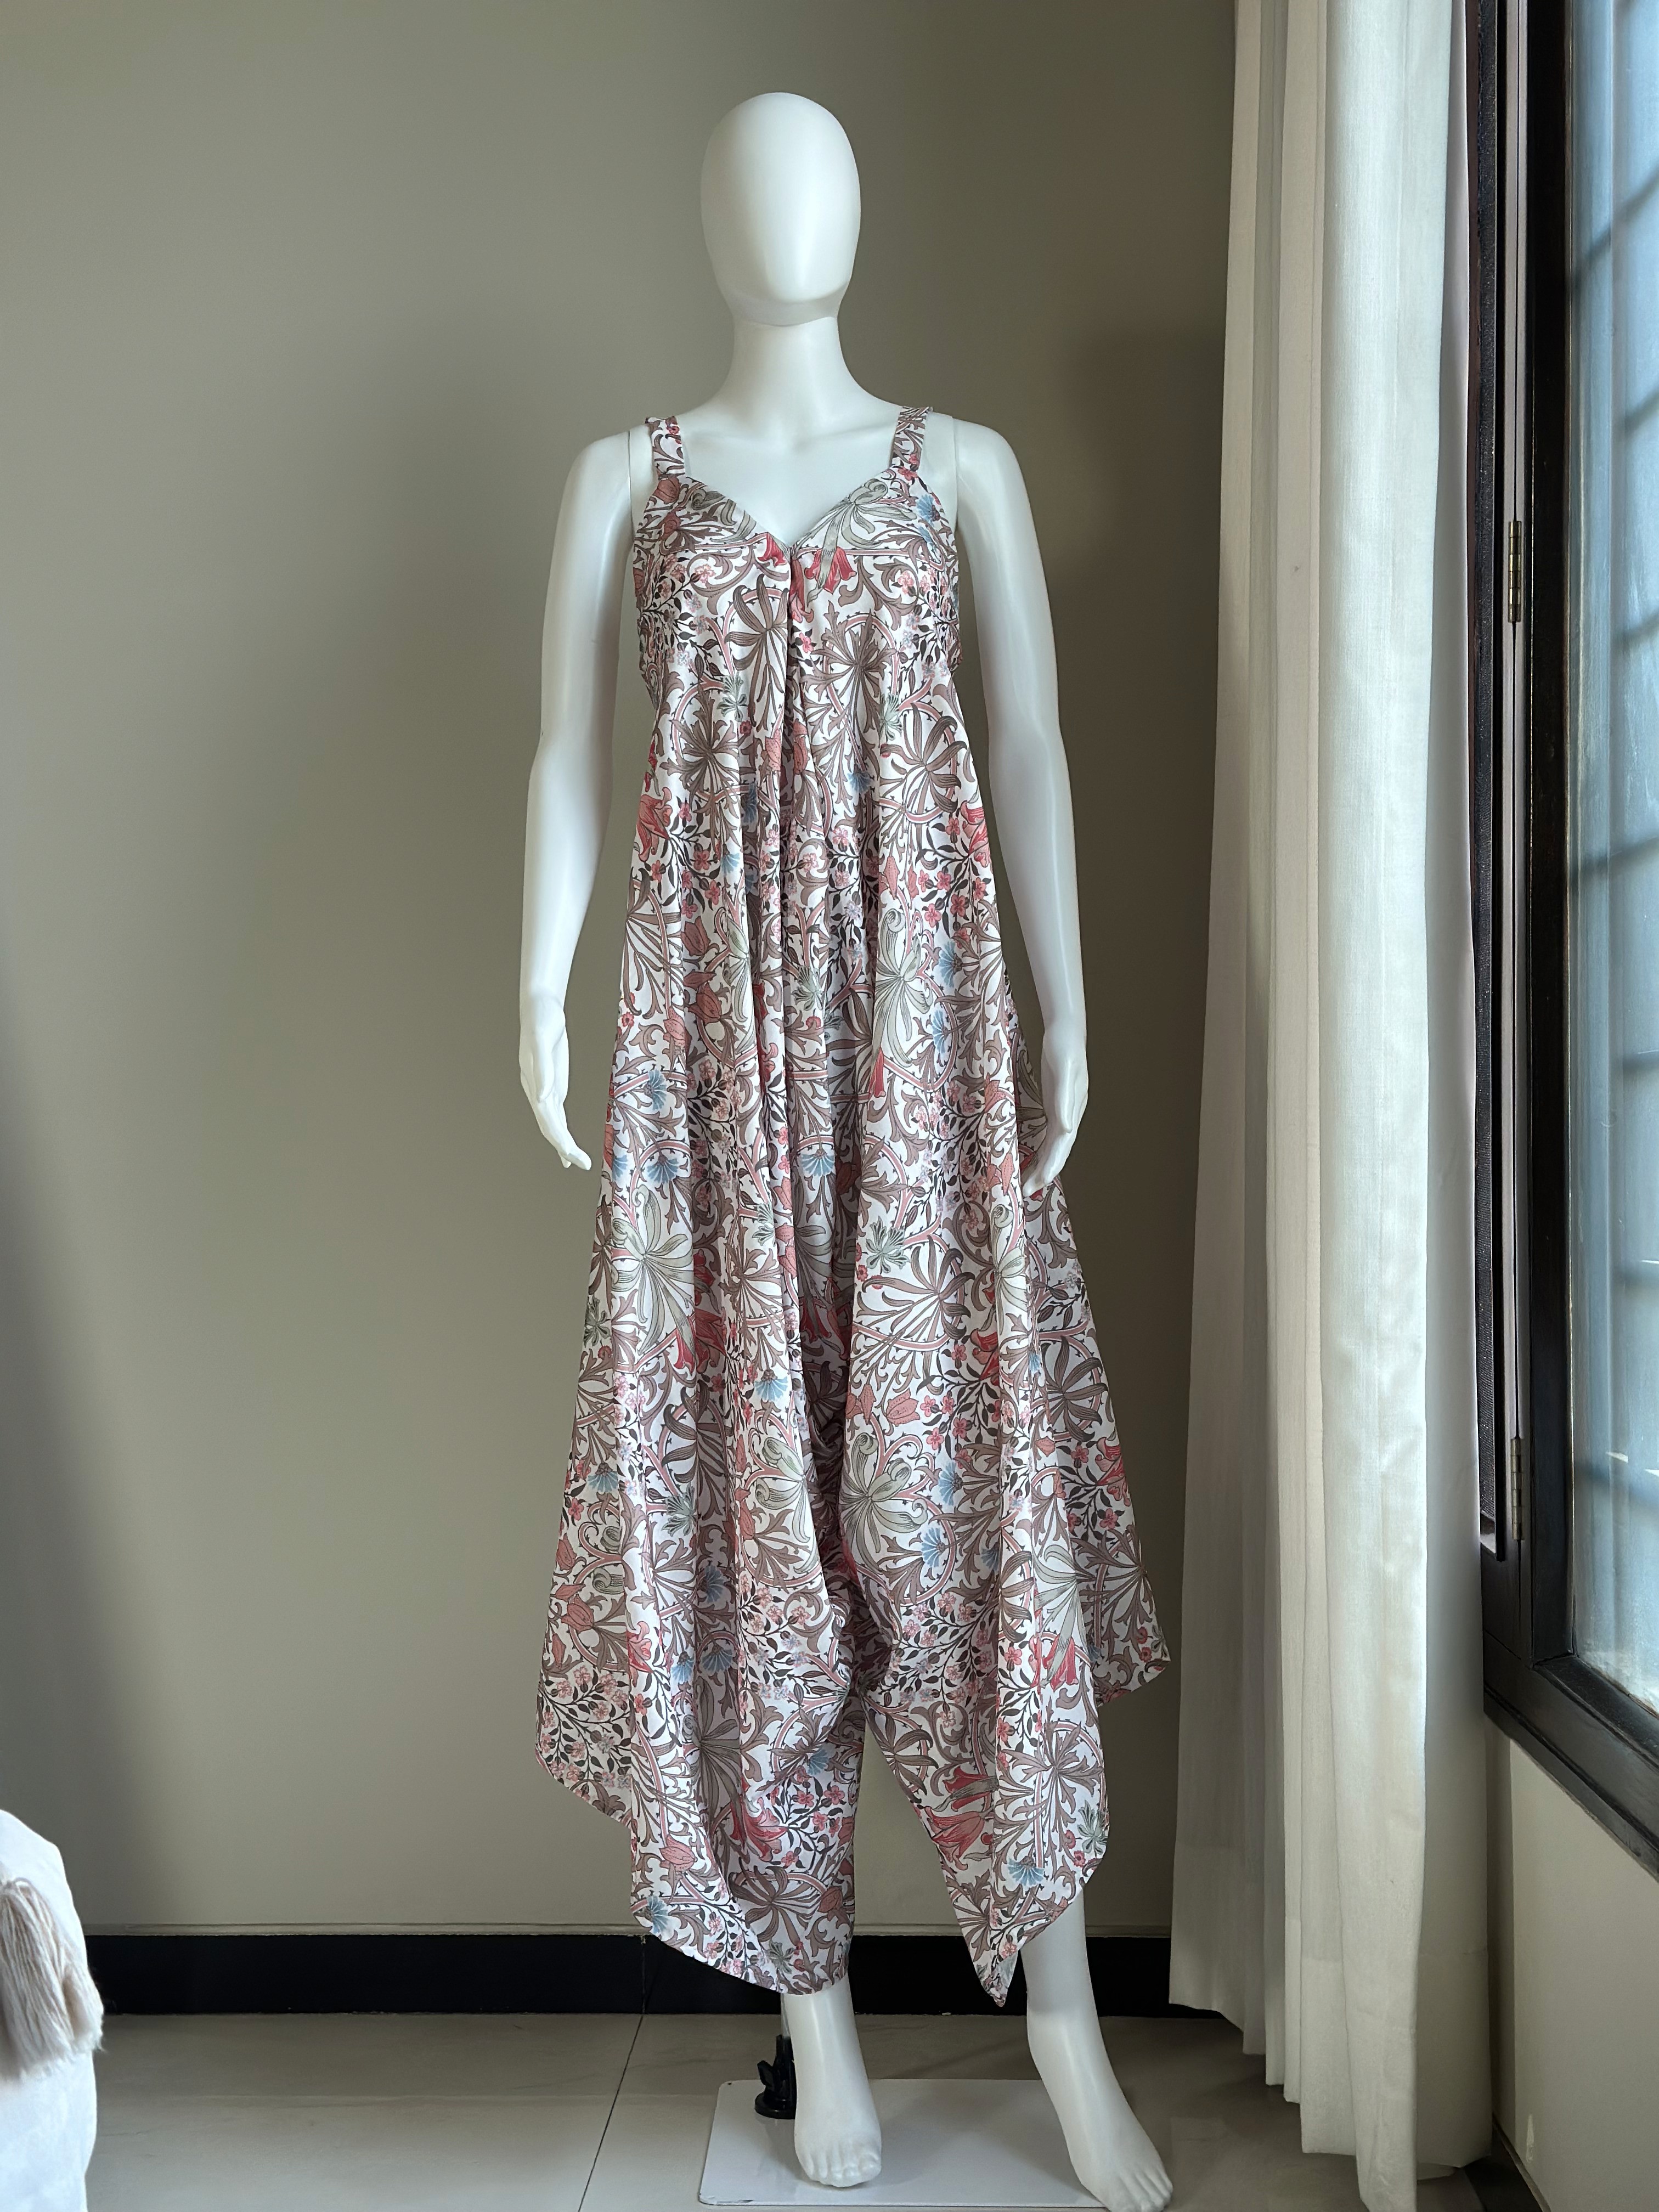
SHOT FRAMING
Capture the right portion of the mannequin for the garment type — the full garment length must be visible.

TOP WEAR
Shirts, tops, jackets — head to just below the waist.

BOTTOM WEAR
Pants, skirts — waist to feet, including the hem.

FULL BODY
Kurtas, dresses, sarees — head to base, no cropping.
[ 03 ]
SIX MANDATORY ANGLES
We need six angles per product for accurate outputs. Minimum: front and back. Oblique angles are highly recommended.
FRONT
Straight-on front view.
FRONT LEFT
45° from the front-left.
FRONT RIGHT
45° from the front-right.
BACK
Straight-on back view.
BACK LEFT
45° from the back-left.
BACK RIGHT
45° from the back-right.

FRONT
Straight-on front view.

BACK
Straight-on back view.
[ 04 ]
WHAT NOT TO DO
Our AI picks up everything in the frame. Steam garments, clear the background, and keep the mannequin clean.

[ AVOID ]
Props or clothes in the background create artifacts.

[ AVOID ]
Wrinkles and harsh shadows reflect in the output.

[ AVOID ]
Text or labels on the mannequin will appear in the final image.
[ 05 ]
JEWELLERY
Close-ups on a clean, uncluttered background with soft, diffused light.
— Close-up shots with a clean background.
— Include a size reference — a ring on a finger, an earring on an ear.
— Necklaces: lay flat or on a bust, full piece visible.
— Show clasp and back details; add side images.
— Soft, diffused lighting — avoid studio-light reflections.
— Two to three images minimum per product.

Necklace — full piece visible.

Earring — clean close-up.
[ 06 ]
HOW TO SHARE
One folder per SKU, named by SKU ID or product name. Each folder holds the six angle files.
/Brand-Name-Images/
/SKUID_VARIANT/
front.JPG
front_left.JPG
front_right.JPG
back.JPG
back_right.JPG
back_left.JPG
optional_1.JPG
optional_2.JPG

One folder per SKU, with the six named angle files inside.
— Google Drive (preferred) — share a folder link with edit access.
— WeTransfer — for one-time large batches.
— Dropbox — a shared folder link.
[ 07 ]
BEFORE YOU SEND
A quick checklist to run through.
Mannequin colour contrasts with the garment
Six angles per product (minimum: front and back)
Clean background — no props or clutter
No wrinkles; no writing on the mannequin
Full garment visible — no cropping
One folder per SKU, named correctly
Product spreadsheet with SKU ID, description, gender
Three or more brand reference images for pose and background
[ QUESTIONS? ]
WE’RE HERE TO MAKE THIS SMOOTH.
The better your inputs, the better your output — every time. Send the product, the category and the timeline, and we’ll reply the same day.